Grouping worksheets in Excel is a powerful feature that helps users manage and edit multiple sheets at once. In this Excel example – group worksheets in Excel, you’ll learn how to efficiently work with several worksheets. Whether you are updating data, formatting cells, or applying formulas, grouping worksheets can save time and reduce repetitive tasks.
What is Grouping Worksheets in Excel?
Grouping worksheets allows you to select two or more worksheets at once. Once grouped, any changes you make to one sheet will reflect across all grouped sheets. This feature is especially useful when you handle large data sets or multiple reports that share the same structure.
Why You Should Group Worksheets
Grouping worksheets offers several benefits:
-
Efficiency: Perform tasks on multiple sheets at once.
-
Consistency: Ensure uniform formatting or formulas across sheets.
-
Time-saving: Avoid repetitive steps by editing grouped sheets simultaneously.
For example, if you need to insert a new column in all your monthly sales sheets, grouping them allows you to insert it in one go.
How to Group Worksheets in Excel – Step by Step
Step 1 – Open Your Workbook
Start by opening the Excel workbook that contains the sheets you want to group. Ensure that the sheets are related or need similar formatting or data updates.
Step 2 – Select the First Worksheet
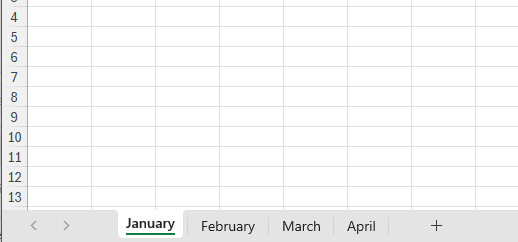
Click on the tab of the first worksheet at the bottom of the window. This will be the starting point of your group.
Step 3 – Add More Worksheets to the Group
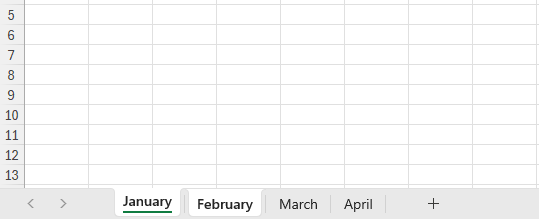
Hold the Ctrl key (or Cmd key on Mac), then click on the other worksheets you want to group. This action adds them to the group.
Alternatively, to group a sequence of worksheets, click the first sheet, hold the Shift key, and then click the last sheet. Excel will select all sheets in between.
Step 4 – Verify Grouping
Once grouped, you’ll notice that the worksheet tabs are highlighted. Any edits you make now will apply to all selected worksheets.
Excel Example – Common Group Worksheet Actions
Formatting Cells Across Sheets
After grouping, you can apply formatting like bold text, color changes, or cell borders. For instance, you can highlight the headers in each sheet by selecting the header row and applying formatting.
Inserting Formulas
You can insert formulas that need to be consistent across sheets. For example, if you are calculating totals, entering the formula in one sheet will apply it across all grouped sheets.
Adding or Deleting Rows and Columns
Grouping worksheets also helps when you need to add or delete rows or columns in multiple sheets at once. Insert a column in one sheet, and it will appear in the others automatically.
Protecting Sheets
You can set protection or lock cells across all grouped worksheets at the same time, helping you prevent unauthorized changes.
How to Ungroup Worksheets
After making the changes, it’s essential to ungroup the worksheets to avoid accidental edits.
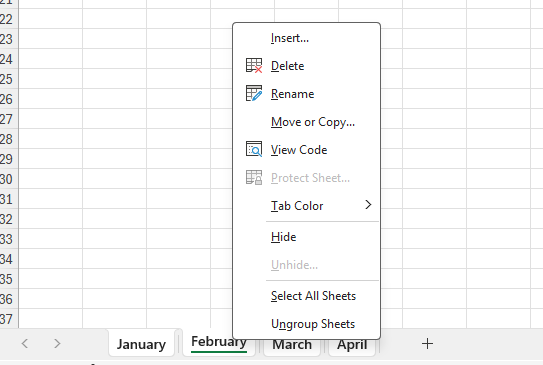
Method 1 – Right-click on any grouped sheet tab and choose “Ungroup Sheets.”
Method 2 – Click on any sheet outside the group to automatically ungroup them.
Note: Always remember to ungroup once you finish your edits to prevent errors.
Best Practices When Grouping Worksheets
-
Group only sheets that need similar changes to avoid unwanted edits.
-
Always ungroup after completing your work to prevent accidental updates.
-
Check formulas and formatting after grouping to ensure they apply correctly.
-
Use descriptive worksheet names so it’s easier to group the correct sheets.
Troubleshooting Grouping Worksheets
Sometimes, grouping doesn’t work as expected. Here are some common issues:
-
Workbook is protected: Ensure the workbook or worksheet isn’t locked.
-
Different layouts: Grouping works best if all sheets have similar structures.
-
Hidden sheets: If a sheet is hidden, you need to unhide it before grouping.
Conclusion
This Excel example – group worksheets in Excel shows how grouping can make your work faster and more accurate. By following these steps, you can easily format, calculate, and edit data across multiple sheets. Just remember to ungroup the sheets after editing. With practice, you’ll master this feature and boost your productivity when working with Excel.